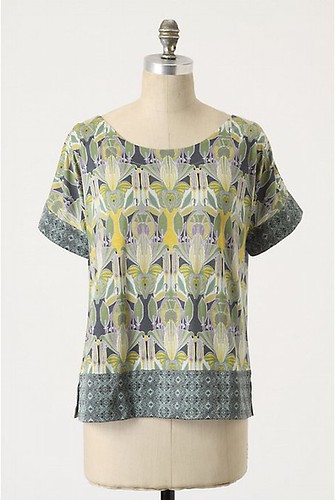
Here's the original:

The William Morris-style fabric with the contrasting trim really works with simple design of the t-shirt.
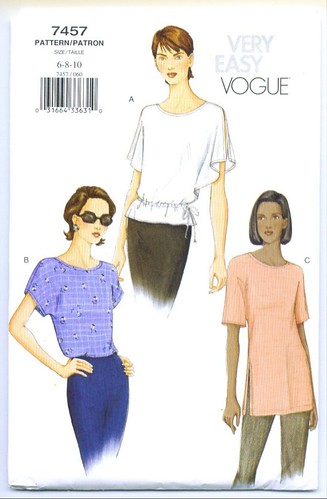
I chose Vogue 7457 as my basis for the design, and some cotton satin I had in my stash from Mom:

I chose View C, but made a few changes. First, I really wanted the length of View B, but since I had decided to use the wrong side of the fabric as my contrast, I removed the hem length (1 1/4") from View C, and lowered the slits by 2". I also did the same for the sleeves (though this had more to do with the fact the fabric I was using was only 36" wide, so I didn't have enough to make them longer).
Before sewing the shoulders and side seams together, I hemmed the sleeves by pressing 1/4" to the outside and then another 1" after that. I then topstitched the contrast hems. For the lower bands, I again pressed under 1/4" and then folded the hem to the outside to where my new slits ended (about 3"). I then folded this back to the inside, stitched the sides of the contrast together (in order to encase the contrast portion), trimmed the seams I just stitched, clipped the side seams to the notch, and turned the contrast wrong side out again. I pinned the contrast down and topstitched it down. Once I did that to the front and back pieces, I was able to sew the side seams together and the top was almost done!
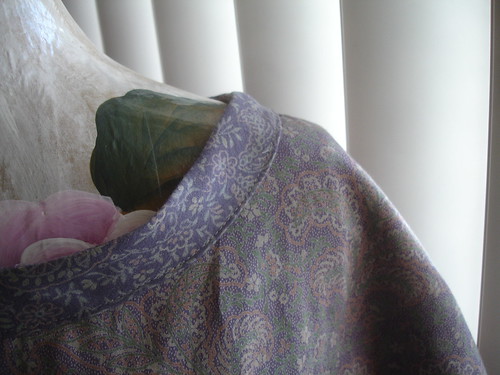
Lastly, I decided I wanted a contrast band at the neck edge, so I cut self bias tape that was 1 1/4" in width and about 24" in length (I measured the neck area and suggest you do the same. It doesn't have to be too perfect since bias will stretch). I used the bias tape to encase the neck edge. First, I pinned it to the wrong side and adjusted to fit, and the sewed the raw edges together (joining the bias ends in a circle) at one of the shoulder seams. Then, I stitched it the the wrong side of the neck edge before pressing it to the right side, (pressing raw edge under by 1/4"), and finally stitching the bias tape in place. And that was it! Super simple and very cute. It will make a great top by itself in the Summer, but I know me, and it will also get worn throughout the fall and winter over a long sleeve t-shirt, with either pants or a skirt.
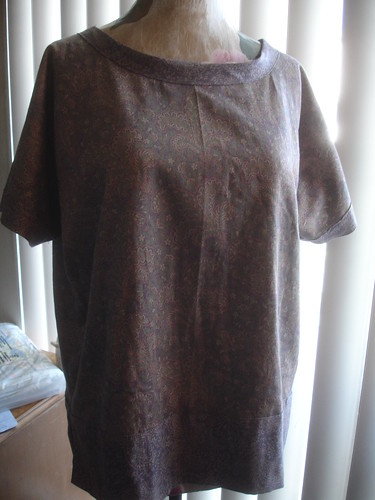
Here's my finished version:

And a close up of the contrasting trim:


